DIY Fauxdori – Traveler’s Notebook
This has got to be one of my favorite DIY’s. Making this Traveler’s Notebook was fun and easy! let me show you how I did it!
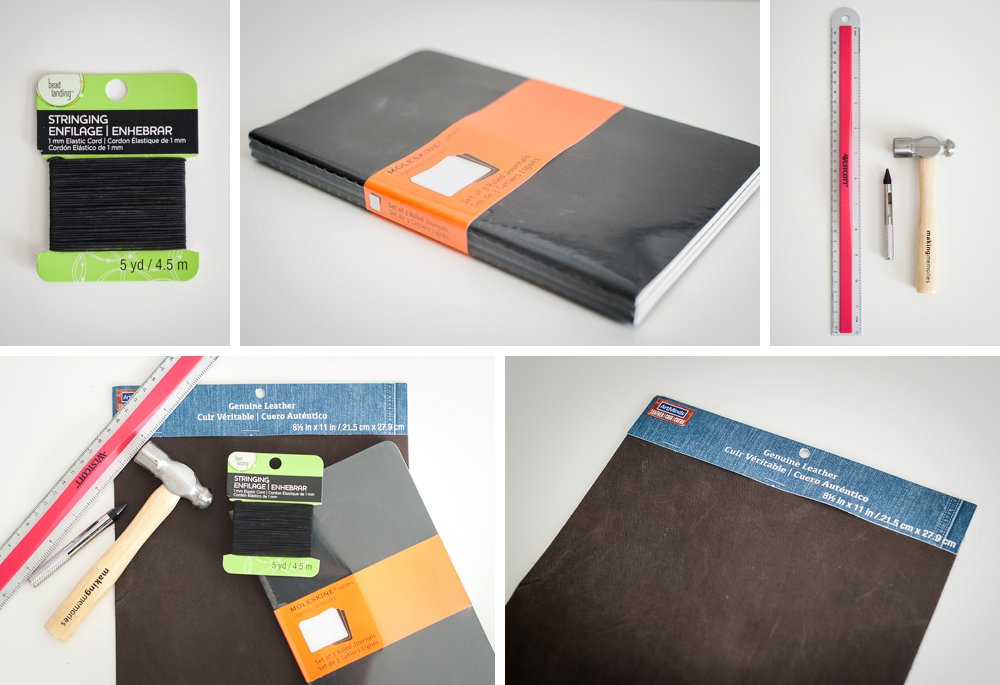
Here are the supplies.:
- 1mm elastic string (purchased at Michael’s)
- set of three Moleskine Cahier Notebooks
- metal ruler
- hole punch
- 8.5 x 11 piece of leather (also from Michael’s)
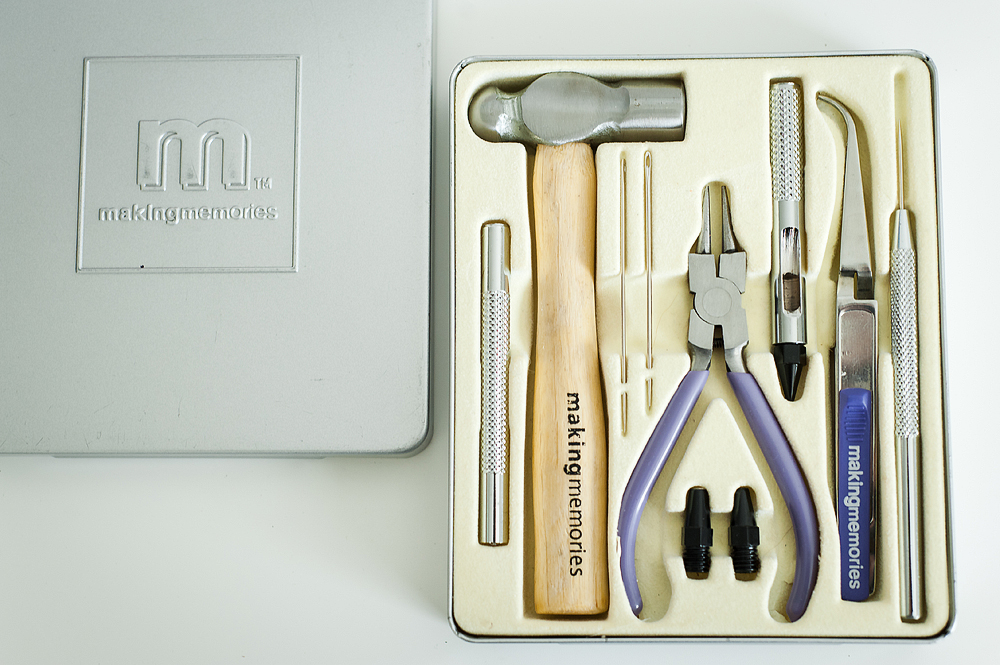
I purchased this set of tools from Michael’s years ago! If they still make them, buy one! I have used this set for so many different projects over the years.
I also used a corner round punch to score the edge and then cut the rest of the way through with a kraft knife.
Next, use a metal ruler to mark the center of the notebook.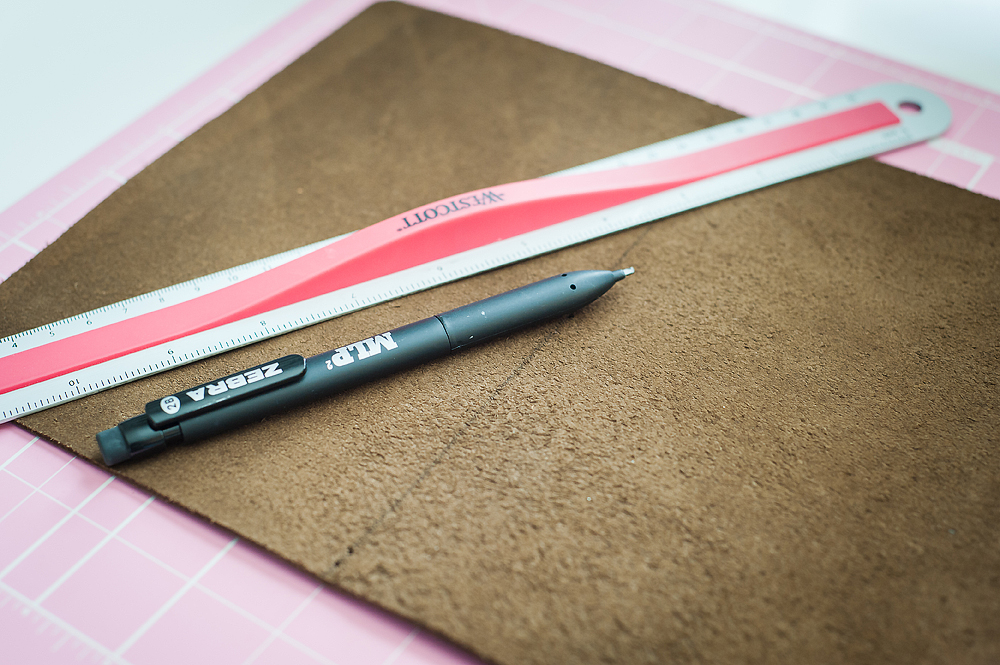
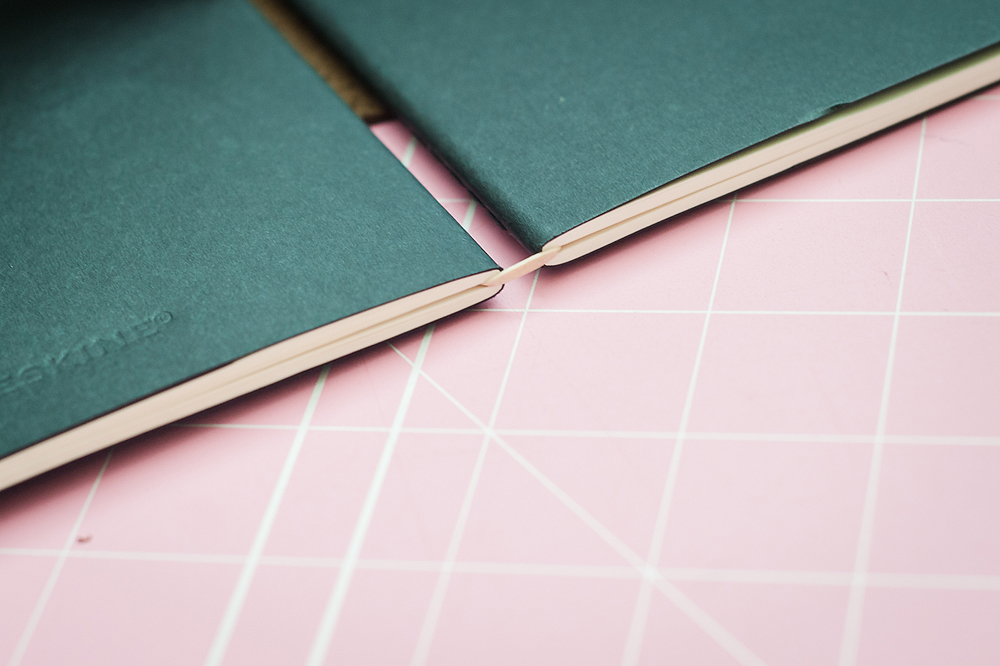
Hammer one whole directly in the middle of the spine. This is where your wrap-around elastic will go.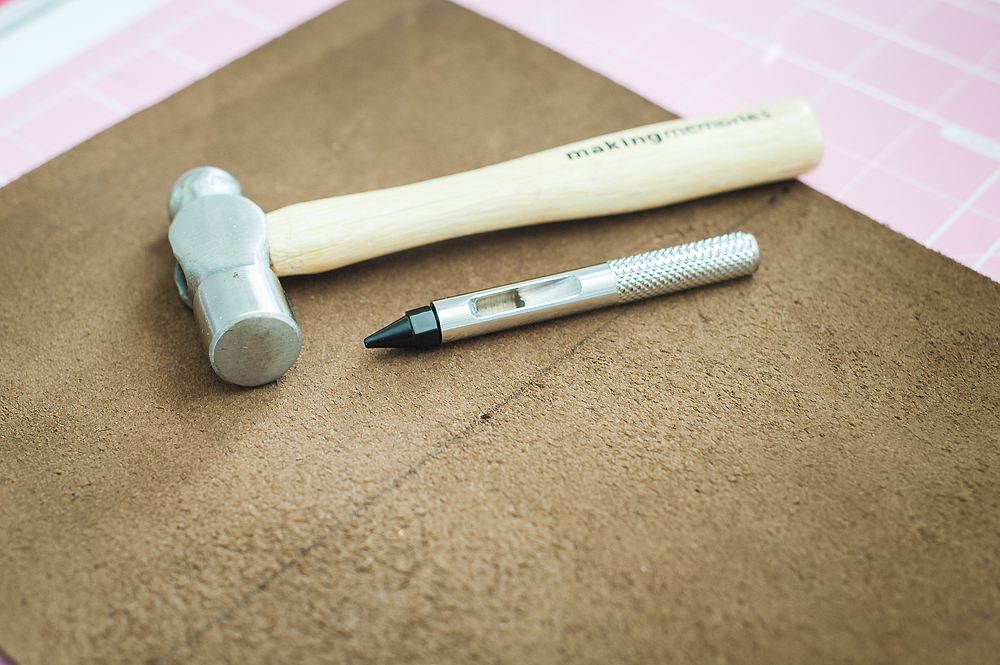
The hole was a bit tight, so I used a needle and thread to pull the elastic through the hole.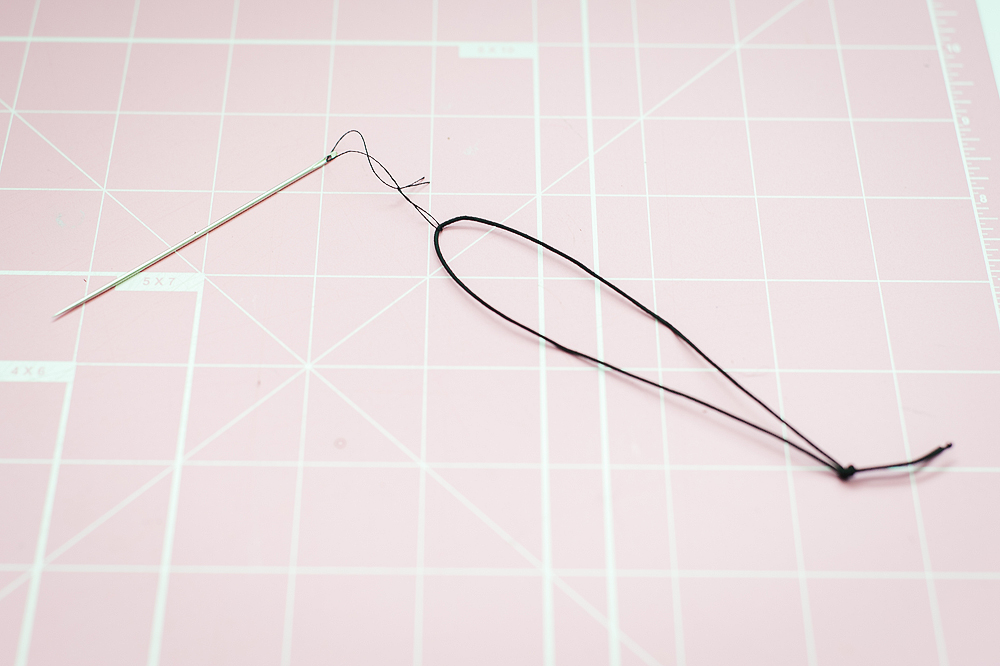
Once it’s through, snip the thread off.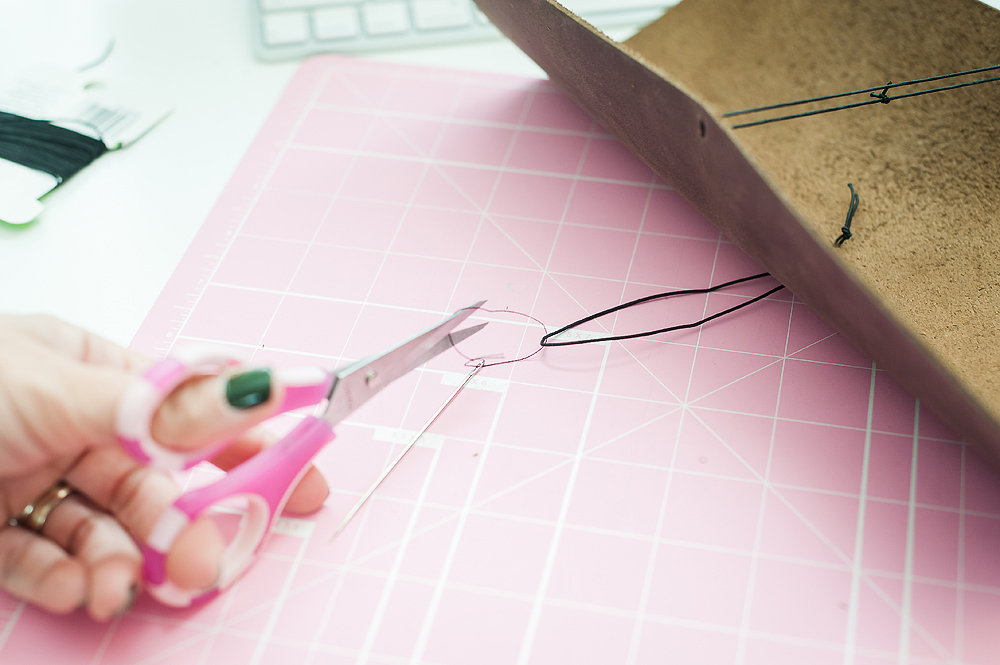
I wanted this Traveler’s Notebook to be similar to the original Midori, so I only made one string. just punch two more holes on the top and bottom of the notebook, and thread more elastic through, like this:
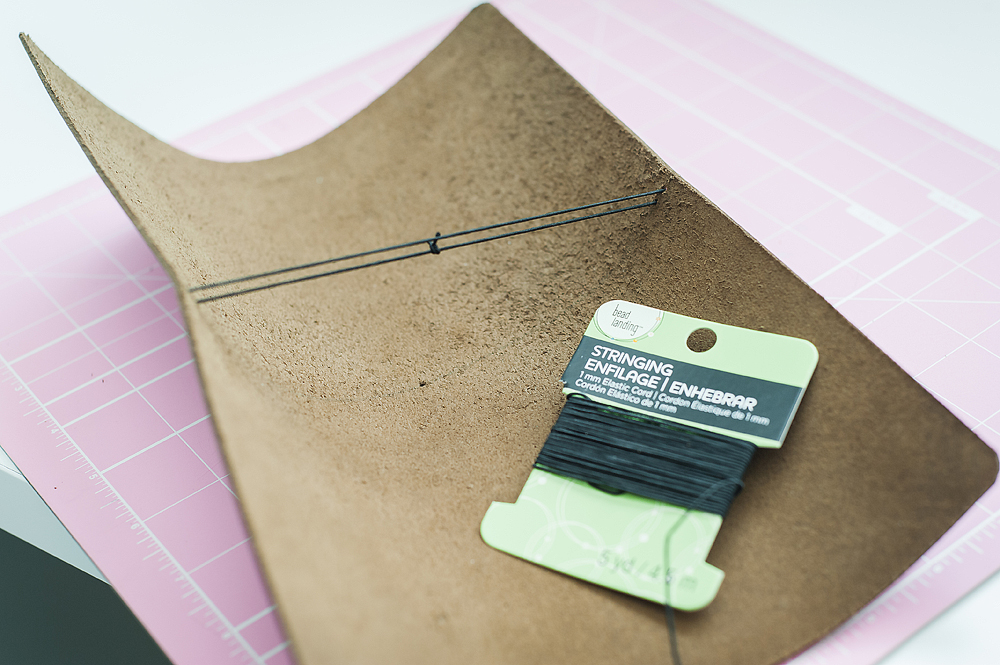
I think in the future I will use a thicker elastic, but this works great as well. Especially since in won’t be a junky notebook. make sure the elastic is a little taught. That will keep your notebooks from sliding around.

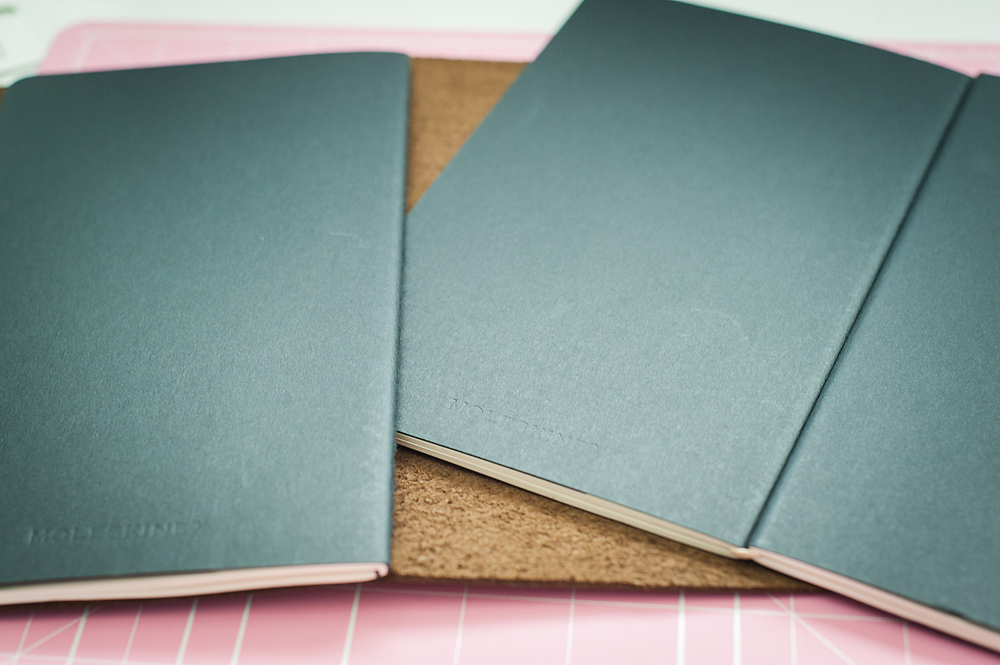
Now it’s time to insert your notebooks. You can just insert one, but I decided to add three. You will need a rubber band for this, or another piece of elastic.
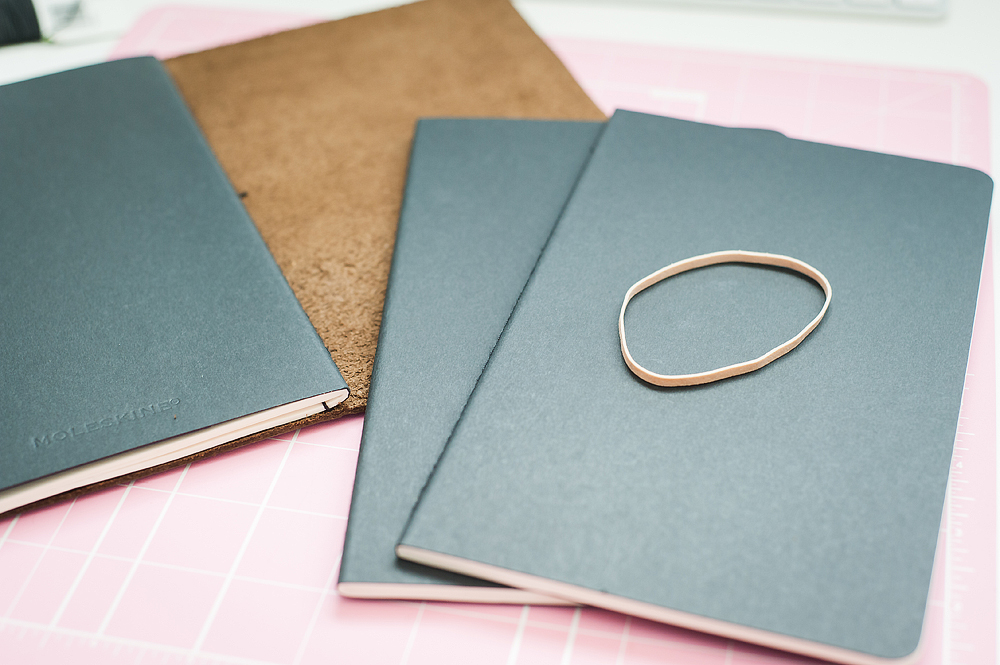
Find the center of one of the notebooks…
and wrap a rubber band around it.
 Then wrap that same rubber band around the center of another notebook. This will link the two notebooks together.
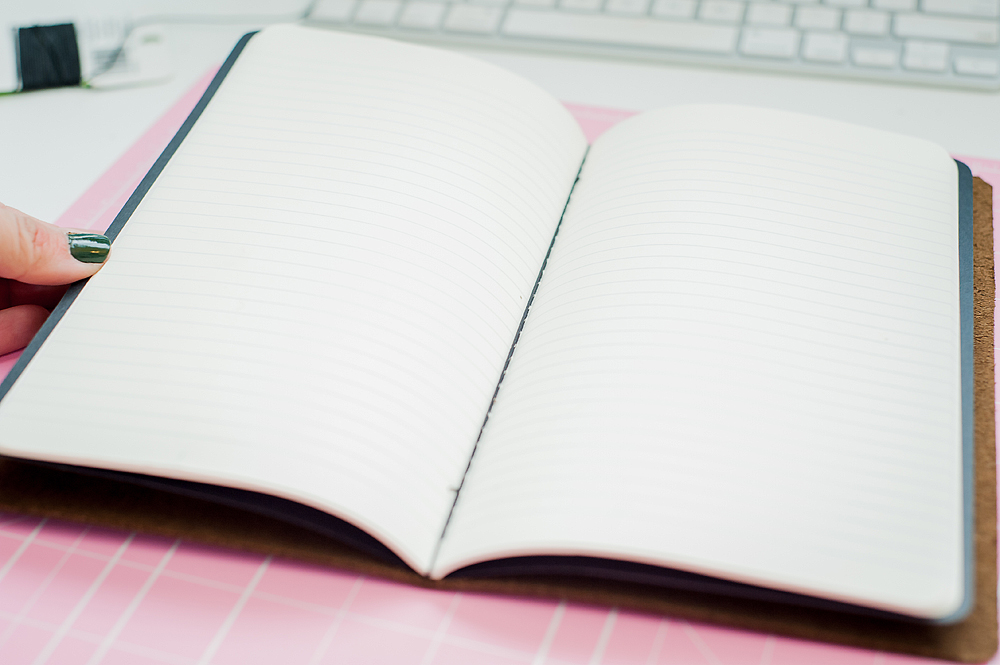
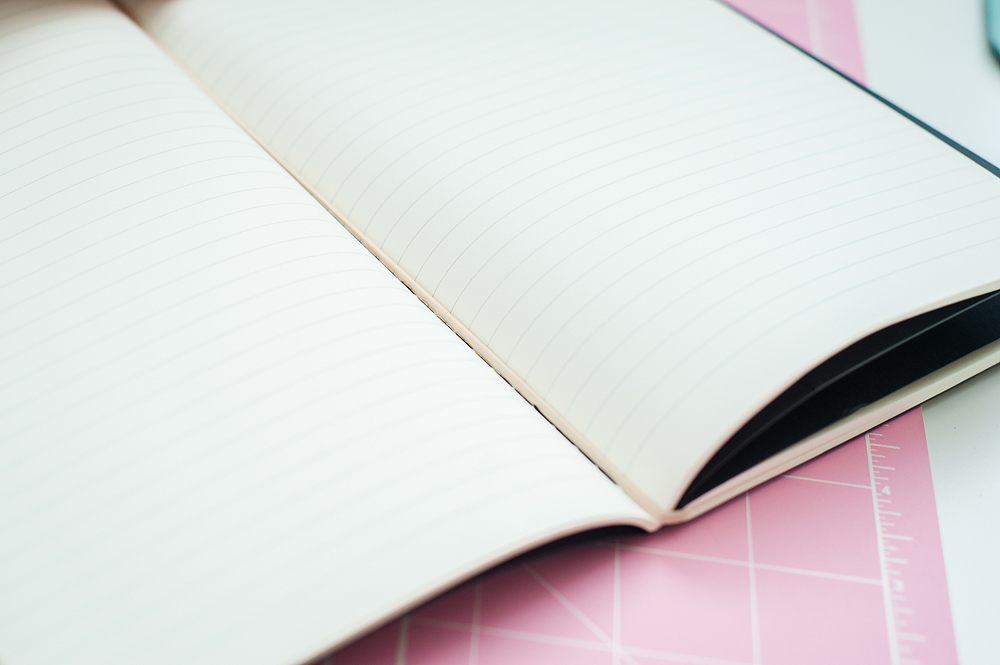
I didn’t take a picture of it, but now you just slide the double notebooks into the string. Then you open up the third notebook to the middle and slide that through on top of the other two notebooks. (I am so sorry I didn’t take a better picture of this!!!!)
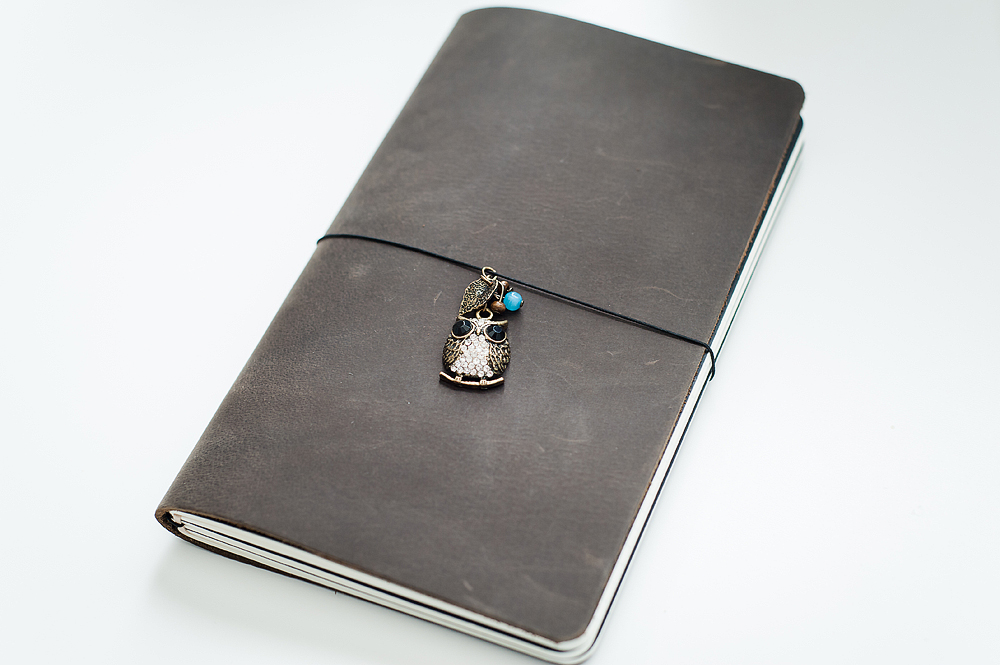
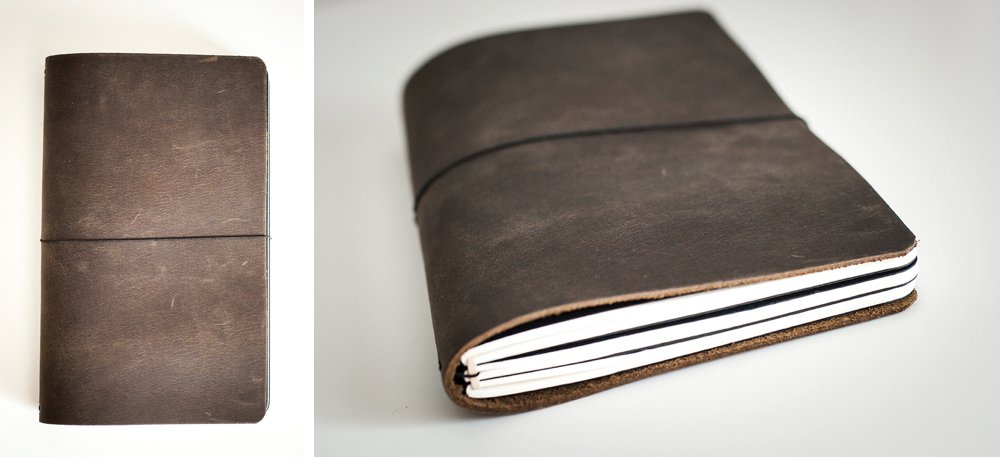
Here is the final product. I didn’t trim the sides of the leather, to make it the same size as the original Midori, so the notebooks fit perfectly. Add a charm to the elastic and voila! You have a handmade Traveler’s Notebook! You can use this baby for planning, journaling, bullet journaling, or anything else your heart desires. If you have any questions, feel free to leave them in the comments below!